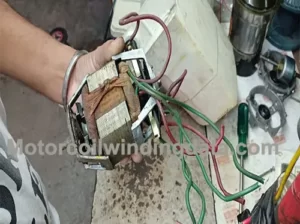
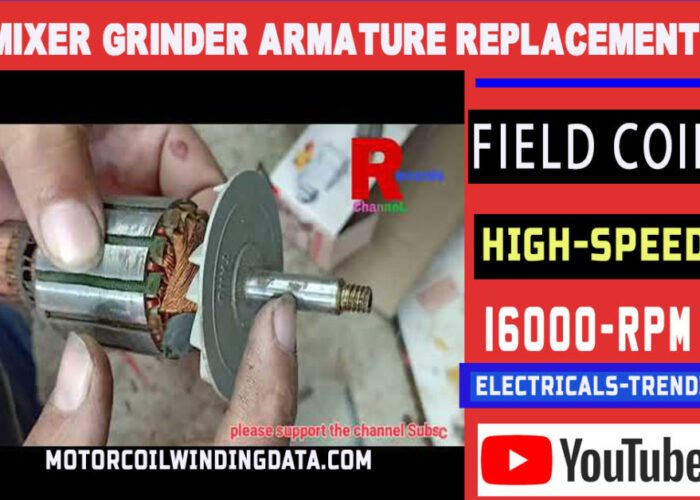
Mixer Grinder armature Replacement change.मिक्सर ग्राइंडर को ठीक कैसे करते हैं Mixer Grinder armature replacement Hindi juicer mixer grinder repair
Replacing the armature in a mixer grinder is a task that requires some mechanical skills and knowledge of electrical components. Here’s a general guide on how you can change the armature in a mixer grinder:
Important Note: Before attempting any repair work on electrical appliances, make sure to unplug the mixer grinder from the power source to ensure your safety.
Topics Cover In This Post
Materials and Tools Needed:
Replacement armature.
Screwdrivers (Phillips and flathead).
Wrench or pliers.
Replacement brushes (optional, but recommended if the old ones are worn).
Grease (for lubrication).
Steps to Replace the Armature:
Disassemble the Mixer Grinder:
Remove the mixer grinder’s housing and any screws holding it together.
Take note of how the parts are connected and where the wires are attached to the old armature.
Remove the Old Armature:
Locate the armature inside the grinder assembly. It’s the central rotating component.
Carefully disconnect any wires attached to the armature.
Loosen any retaining nuts or screws holding the armature in place and remove it.
Replace Brushes (Optional):
If your mixer grinder has carbon brushes that are worn down, it’s a good time to replace them.
Remove the old brushes from their holders and replace them with new ones if needed.
Install the New Armature:

Place the new armature in the same position where the old one was.
Reattach any retaining nuts or screws to secure the armature in place.
Reconnect any wires to the appropriate terminals on the armature.
Reassemble the Mixer Grinder:
Put the housing and any other parts back in their original positions.
Tighten all screws and fasteners to ensure the mixer grinder is properly reassembled.
Lubricate Moving Parts (Optional):
Warning: Ensure that the mixer grinder is unplugged from the power source before attempting any repairs or replacements.
Tools and Materials:
- Replacement armature (make sure it’s compatible with your mixer grinder model).
- Screwdrivers (usually Phillips and flat-head).
- Pliers.
- Wrench or pliers for removing nuts and bolts.
- Soldering iron and solder (if needed).
- Insulation tape.
- Safety glasses and gloves.
Steps:
- Safety First: Make sure the mixer grinder is unplugged from the electrical outlet to avoid any electrical shocks.
- Disassembly:
- Remove any external attachments or accessories from the mixer grinder.
- Open the mixer grinder’s housing by removing screws or clips. Typically, you’ll find these on the bottom or sides.
- Carefully separate the housing to access the internal components.
- Locate the Armature:
- The armature is a cylindrical component located in the center of the motor.
- Identify the wires connected to the armature and any other components like brushes.
- Disconnect Wiring:
- Carefully disconnect the wires attached to the armature. Make a note of their positions or take a picture to ensure you can reconnect them correctly later.
- Remove the Armature:
- Loosen any retaining nuts, bolts, or clips that hold the armature in place.
- Gently slide or lift out the old armature.
- Install the New Armature:
- Insert the new armature into the motor housing in the same orientation as the old one.
- Secure it in place by reattaching any nuts, bolts, or clips.
- Reconnect Wiring:
- Reconnect the wires to the new armature in the same positions as they were on the old one. Use solder if necessary and insulate the connections with tape.
- Reassemble:
- Put the mixer grinder’s housing back together and reattach any screws or clips that hold it in place.
- Test:
- Plug the mixer grinder into the electrical outlet and test it to ensure that the new armature is functioning properly.
- Listen for any unusual noises or vibrations, which might indicate a problem.
- Final Check:
- Make sure all components are securely fastened and that there are no loose parts.
- Reattach any external attachments or accessories.


